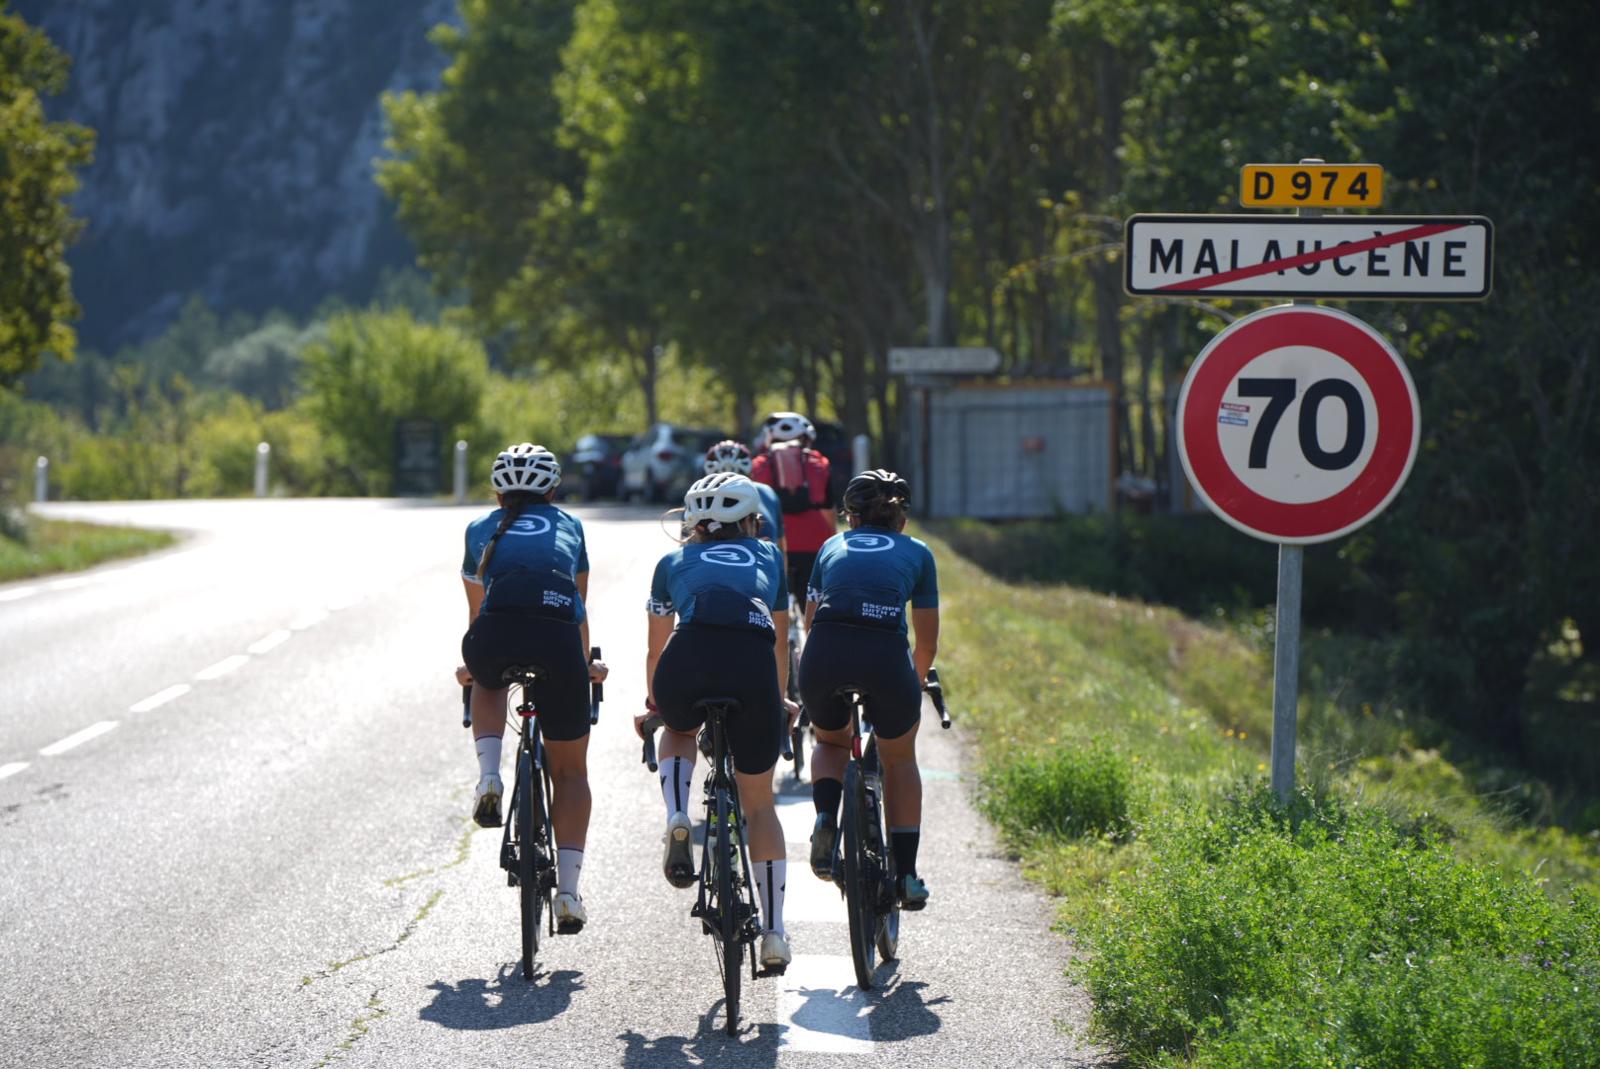
How to Change Your Bike Pedals: A Step-by-Step Guide for Beginners

How to Change Your Bike Pedals: Complete Guide for Cyclists
Why mastering this essential skill can transform your cycling experience
Changing your bike pedals might seem like a technical task at first, but it's actually a fundamental skill every cyclist should master. Whether you've just acquired a new bike, want to switch to clipless pedals, or simply replace worn-out ones, knowing how to properly remove and install pedals is an integral part of becoming a confident cyclist.
What tools do you need?
Before you start, make sure you have the right tools and a clean workspace:
- 15mm spanner or 6/8mm Allen key, depending on your pedal type
- Bike grease to prevent thread seizure and corrosion
- Penetrating oil or spray lubricant for stubborn pedals
- Gloves, cloth and paper towel to maintain a clean working environment
Step 1: Identify left and right pedals — they're not the same
Bike pedals screw in different directions. Getting this wrong can damage your crankset. Here's how to distinguish them:
- Right pedal (drivetrain side): tightens clockwise
- Left pedal (non-drivetrain side): tightens counter-clockwise
Most pedals have an R (right) or L (left) etched on the axle. If this marking isn't visible, start threading gently by hand — if it resists, don't force it.
Step 2: Removing the pedals
Follow these simple steps to remove your current pedals safely:
- Secure your bike against a wall or on a workstand
- Position the crank arm horizontally, pointing forwards
- Insert your tool:
- Spanner: on the flat side of the pedal axle next to the crank
- Allen key: into the back of the crank arm
- To remove the right pedal: turn anti-clockwise (left)
- To remove the left pedal: turn clockwise (right)
Tip: if the pedal is stuck, you can use a cheater bar (a pipe or longer tool for extra leverage) or carefully step on the opposite pedal for counter-pressure.
- Once removed, clean the crank arm threads with a cloth to remove dirt or old grease.
Still stuck after multiple attempts? Apply some spray lube, wait 10–15 minutes, then try again. If it still doesn't budge, take it to a mechanic — better safe than sorry.
Step 3: Installing new pedals
- Check which is left and right — this is crucial
- Apply grease to the pedal threads to prevent future sticking and rust
- Install by hand first:
- Right pedal → turn clockwise
- Left pedal → turn anti-clockwise
- Tighten gently with your tool. The pedal should feel snug, not over-tightened
- Spin the pedals to ensure they move freely, with no play
Key reminders to avoid common mistakes
- Never cross-thread: if it doesn't go in smoothly by hand, stop immediately
- Always grease your threads
- Don't over-tighten: it causes damage and makes future removal difficult
- If in doubt, consult a pro — especially with carbon cranksets
Bike rental service: your solution to test before you buy
At Baroudeur Cycling, we understand the importance of having pedals suited to your riding style. That's why we offer a comprehensive road and gravel bike rental service, allowing you to test different pedal types before making your choice.
Our rental service offers you:
- A fleet of high-end road and gravel bikes
- Various pedal types to discover what suits you best
- The opportunity to test your equipment before investment
- Expert guidance to choose optimal equipment
Final thoughts: small skill, big impact
Mastering pedal changes might seem minor, but it's a key step toward independence and confidence with your bike. Once you've done it once, it becomes second nature — and it's one less thing to rely on a shop for.
With proper care, a clean installation, and just the right amount of torque, your pedals will stay put and be easy to change next time — no stress, no hassle.


